How To Unblock Toilet Without A Plunger?
June 7, 2021
Why Does Toilet Smell Bad Even After Cleaning It?
July 6, 2021How To Fix A Leaking Shower Head?
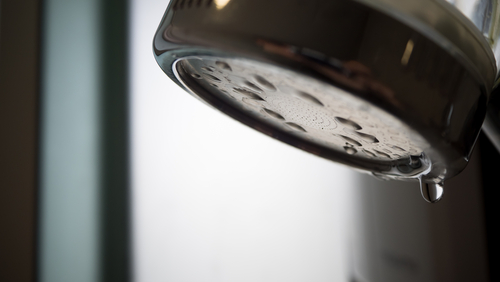
How To Fix A Leaking Shower Head? The leaking shower head provides an annoying showering experience. The leak may have to deal with hard water sediments or worn-out gaskets.
Both issues are not difficult to tackle if you have the needed tools and the desire to fix the showerhead. If not, you can also look for experienced and reliable plumbing services. Here is how you bring your leaky shower head back to normal.
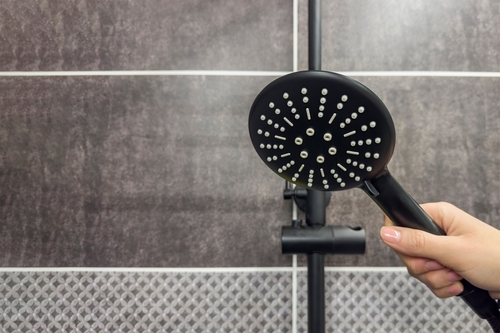
Remove and check up

Remove the showerhead and inspect it. Try to unscrew it with your hands. If the head has not been removed for years, it may refuse to unscrew. In this case, use a wrench or pliers to force the shower head off.
You can place a cloth on the pipe to increase friction between wrench jaws and pipe. Don’t forget to remove moisture from the pipe before unscrewing to ensure it’s not slippery when you turn the wrench.
Once you removed the showerhead, look inside it for the gasket. A gasket is a rubber ring that has the major role of preventing water leaks through the junction of metal elements. Because of age and constant exposure to hard water pressure, this ring wears out.
Becoming brittle, it provides weaker protection, allowing water to drip through the place where the showerhead and pipe connections. Your task is to replace the old gasket to bring leakage to an end.
Buy a gasket of identical size and place it accurately inside the pipe, making sure it fits perfectly.
Clean the showerhead
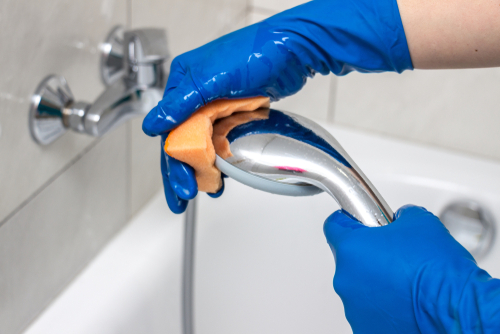
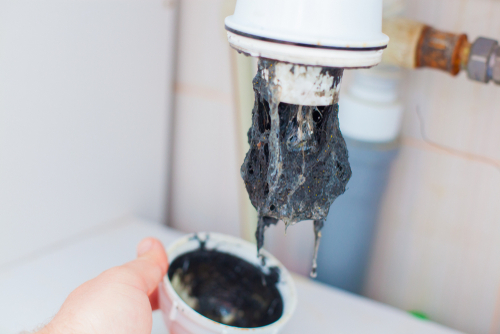
Before attaching the showerhead back to the pipe, make sure you clean it. It happens oftentimes that hard water leaves sediments on the interior of the showerhead. These deposits narrow the channels through which water travels.
As a result, the water pressure increases which can lead to cracks and leaks. The pipe may also struggle with this issue, so you are good to clean the pipe stem as well. Mix in a cooking pot water and three cups of vinegar, and let the solution boil.
As it reaches the boiling point, turn off the heat.
Take the pot to the shower and place the showerhead and the pipe end in it, allowing it to sit for 30 minutes. Make sure the pipe doesn’t have the rubber ring inside it, as it may impede removing sediments.
Once 30 minutes passed, remove the head and the stem and scrub them with a toothbrush under jets of water. This procedure will ensure all deposits, including really tough and old ones, will go away.
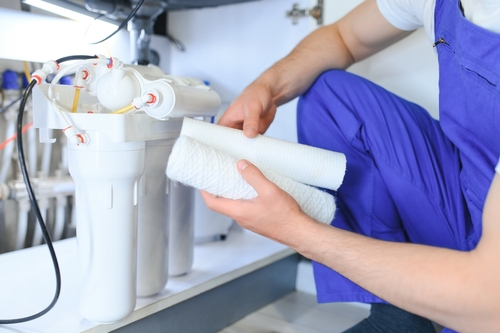
Add seal tape
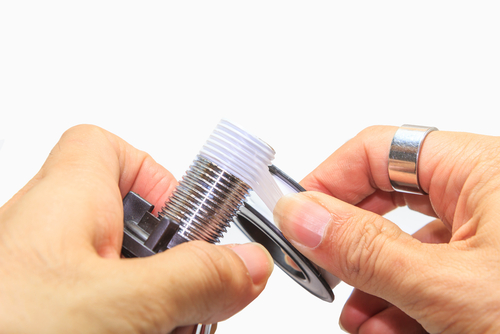
Once you finish cleaning the showerhead, you can reattach it to the pipe, not before adding seal tape. Wrap seal tape around the pipe threads to ensure no leaks occur at the junction of metal components. Don’t add too much tape, as it will make screwing hard.
Reattach the showerhead
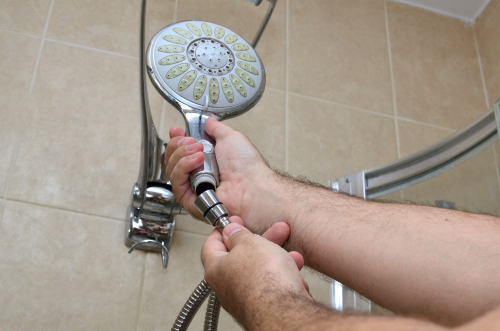
Proceed with the shower head attachment. Screw it with your hands until you can’t turn it anymore. Then, continue with a wrench or pliers to provide an extra turn. Don’t tighten, though, too hard, as it may damage the pipe threads under high tension.
Remember that the seal tape does most of the sealing work, so a crazy tightening is useless here.
Turn the water on
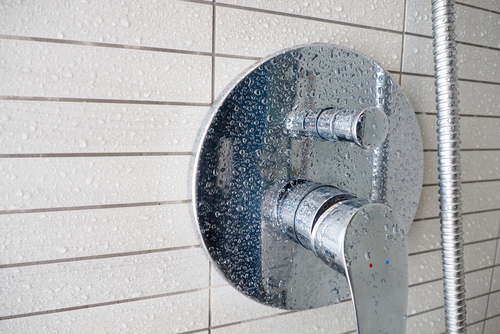
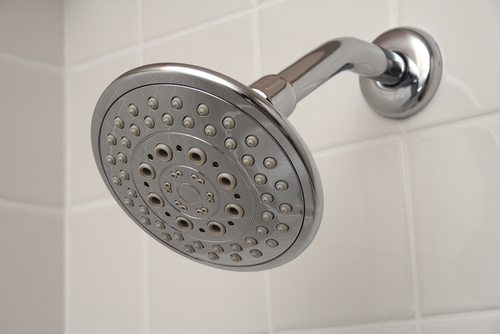
Once the showerhead is back in its place, turn on the water supply. Run the shower for a minute or so to see whether the leak still exists or is gone. Old showerheads may have hidden micro-fissures that cause dripping.
So if yours continues to leak, you may need to replace it due to natural wear and tear.
How To Fix A Leaking Shower Head? – Bottom line
Fixing a leaking showerhead is not as difficult as it may seem. The main cause of leakage is either the worn-out gasket or hard water sediments (or both). You have to replace the rubber ring and clean the showerhead and pipe stem thoroughly.
These two easy steps will most probably eliminate the leaking problem. Sometimes, the cause of the leak is the fissures that appear as a result of wear and tear. In this case, replacing your old showerhead would be your best decision.